How to Record Etsy Sales in QuickBooks Online (2 Methods)

Recording Etsy sales in QuickBooks Online can be complicated.
In this guide, we provide two methods for correctly recording Etsy sales in QuickBooks Online: a manual method, and an automated method using A2X.
The manual method is intended for Etsy sellers with a low volume of transactions (e.g., sellers who are just starting out). If you find that the manual method is too complicated and time consuming, we encourage you to check out the automated method – it’s much quicker and easier!
Watch how the automated method works in this video.
Let’s dive in.
Table of Contents
Integrate Etsy and QuickBooks Online for accurate accounting
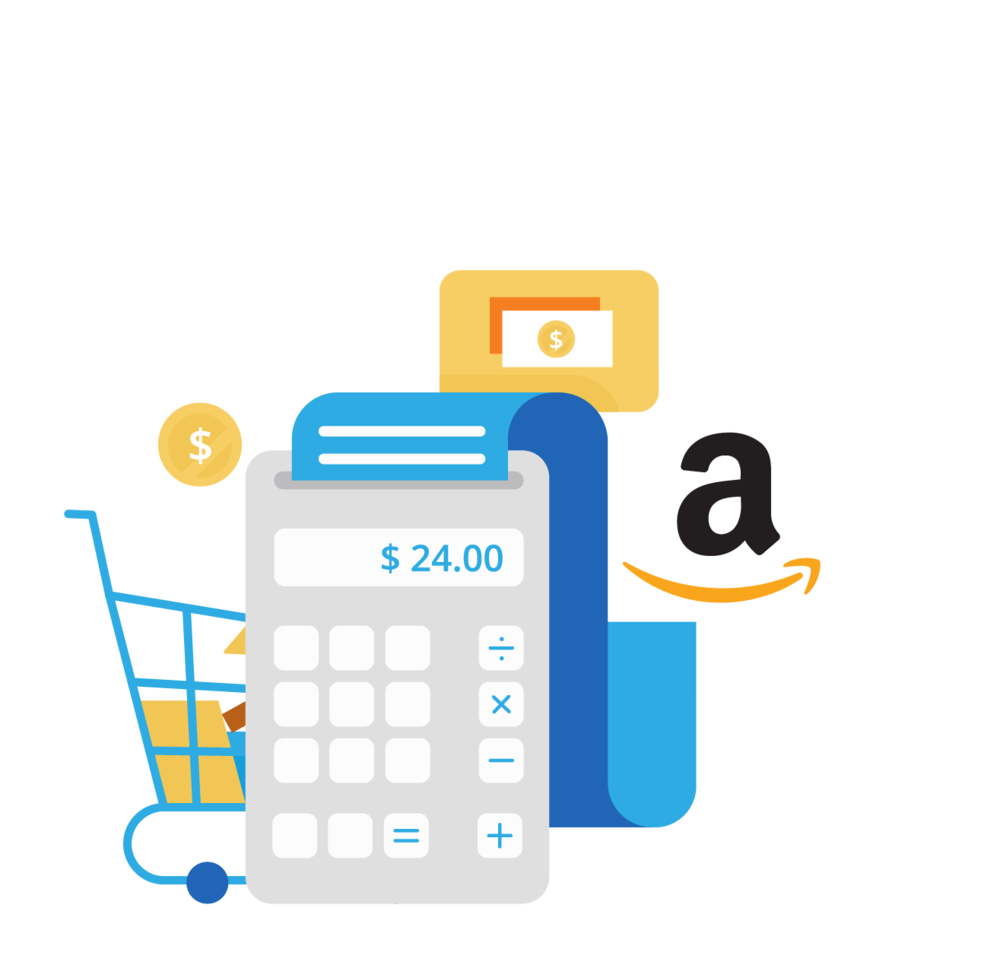
A2X auto-categorizes your Etsy sales, fees, taxes, and more into accurate summaries that make reconciliation in QuickBooks Online a breeze.
Try A2X today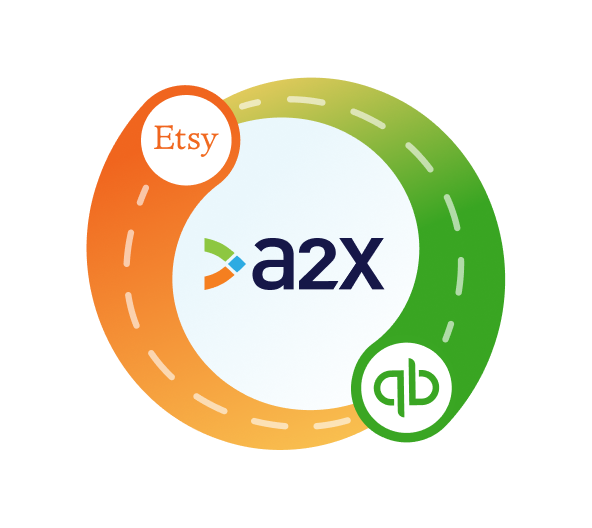
Quick overview: Etsy transactions
Etsy deposits are net amounts, meaning they already account for Etsy fees and taxes deducted from your total sales.

To ensure accurate bookkeeping, you’ll need to break down the components of each deposit:
- Gross sales – Total sales income before any deductions.
- Etsy fees – Deductions for listing fees, transaction fees, processing fees, etc.
- Sales tax/VAT collected – Any sales tax or VAT you collected from customers.
- Etsy pending balances – Funds temporarily held by Etsy to cover potential fees, refunds, or disputes, which are typically released after a specified processing period or upon transaction resolution.
As a result, you can’t just record the entire deposit to a “sales” or “income” account, because it would be incorrect. Correct financial data is incredibly important for tax and compliance purposes, as well as for understanding the performance of your shop.
So, let’s go through how to record Etsy sales (and other transactions) correctly.
Method 1: Manually record Etsy sales in QuickBooks Online
Before you get started
What you’ll need
- Etsy Payments Deposit file
- QuickBooks Online account
Set up your bank feed in QuickBooks
Make sure the bank account where you’re getting Etsy deposits is connected to QuickBooks Online.
Set up your Etsy Chart of Accounts
Before recording sales, make sure your Chart of Accounts in QuickBooks Online is prepared for Etsy transactions.
To create your Chart of Accounts in QuickBooks, go to ‘Settings’ (⚙️) > ‘Chart of Accounts’ > ‘New’.
A2X recommends creating the following accounts for Etsy:
Account Name | QuickBooks Account Type |
Etsy Sales | Sales |
Etsy Expenses | Expense |
Etsy Current Assets | Current Asset |
Etsy Current Liability | Current Liability |
Step 1: Set your date range and download your Etsy reports
Bookkeeping should be done at least monthly to ensure up-to-date accounting and to get an accurate view of your shop’s financial performance.
- In Etsy, go to ‘Settings’ > ‘Options’ > ‘Download Data’. Scroll down to the ‘Order’ section and select ‘Etsy Payments Deposit’ from the dropdown menu.
- Select the applicable month and year and click on the ‘Download CSV’ button to export the reports.
The Etsy Payments Deposit file should show all of the sales, fees, tax, and payment transactions for the month, including payouts you received for the period.
The payout amount is the deposit you received in the bank that you can match to the QBO bank feed.
Step 2: Summarize your Etsy report
To get the breakdown of your Etsy deposit, filter all transactions between the two payout dates.
If you sum them all together, this should match to your bank deposit.
If you have transactions that range for several periods before the next payout, you need to download the report for that period or when it is available in Etsy.
Once you have filtered your Etsy transactions, you can further itemize each by identifying the transaction types. The common transaction types you will see are:
- Sale
- Refund
- Fee
- Marketing
Subtotal each type for your journal entry.
In addition, you have to check if some sale transactions have tax allocated, as this will be the Sales Tax Collected. You need to separate the amount of the order and the tax total.
Step 3: Record a journal entry in QuickBooks
You’ll record a journal entry in QuickBooks Online to break down each component type and keep your records accurate.
Go to the journal entry screen:
- Click on ‘+ New’ in the left-hand menu.
- Select ‘Journal Entry’.
Enter the date and journal entry number:
- Date: Use the date of the deposit in your bank account.
- Journal Entry Number: Assign a unique number for tracking (optional but recommended).
Now, it’s time to record each line item.
For an Etsy journal entry, you’ll use multiple lines to detail your sales and deductions:
-
Sales income
-
Account: Your sales income account (e.g., “Etsy Sales”).
-
Debit/Credit: Credit the total amount of gross sales.
-
Description: Enter a description, such as “Etsy Sales Revenue.”
-
-
Refunds
-
Account: Your refund account (e.g. “Etsy Refunds”).
-
Debit/Credit: Debit the total amount of refunds.
-
Description: Enter a description, such as “Etsy refunded sales”
-
-
Shipping income
-
Account: Your shipping revenue account (e.g., “Etsy Shipping”).
-
Debit/Credit: Credit the total amount of shipping revenue.
-
Description: Enter a description, such as “Shipping Revenue”.
-
-
Etsy fees
-
Account: An expense account for Etsy fees (e.g., “Etsy Fees”).
-
Debit/Credit: Debit the total amount of fees deducted by Etsy.
-
Description: We recommend breaking down the fees as much as possible and adding helpful descriptions such as “Etsy Shipping Commission Fee” or “Payment Processing Fee”.
-
-
Etsy advertising
-
Account: Expense account for Etsy advertising (e.g., “Etsy Advertising).
-
Debit/Credit: Debit the total amount of fees deducted by Etsy.
-
Description: We recommend being descriptive of the advertising placement or service used – e.g., “Etsy Click-Through Ad Fee” or “Etsy Offsite Ads Fee”.
-
-
Sales tax collected
-
Account: Your sales tax current liability account.
-
Debit/Credit: Credit the amount of sales tax collected.
-
Description: “Sales Tax Collected.”
-
-
Bank account
-
Account: Your bank account where the deposit was made.
-
Debit/Credit: Debit the net deposit amount (this is what matches the amount received in your bank feed).
-
Description: “Etsy Deposit.”
-
Step 4: Match the deposit in the bank feed
- Go to ‘Banking’ from the left menu and click on your bank account.
- Locate the Etsy deposit in your bank feed.
- Match the transaction:
- QuickBooks should automatically suggest the journal entry you created as a match. If not, select ‘Find Match’ and manually match the deposit to your journal entry.
Method 2: Automatically record Etsy sales in QuickBooks Online using A2X
Here’s a step-by-step guide for recording Etsy sales in QuickBooks Online using A2X. A2X is an integration tool that automates the process by summarizing your Etsy transactions (sales, refunds, fees) and syncing them directly into QBO.
Before you get started
What you’ll need
- Etsy Payments Deposit file (to verify your balances and check to see if there are any pending balances to account for)
- QuickBooks Online account
- A2X account (instructions for setup below)
Set up your bank feed in QuickBooks
Make sure the bank account where you’re getting Etsy deposits is connected to QuickBooks Online.
Note: You don’t need to set up your Etsy Chart of Accounts in QuickBooks Online immediately because A2X will create relevant Etsy accounts for you! More on this below.
Why use A2X instead of other integration solutions?
If you’re exploring other solutions to automate Etsy bookkeeping in QuickBooks Online (such as Sync with Etsy, or perhaps a different third-party connector app), consider the following:
- Some tools only pull Etsy data at the transaction level, eliminating manual entry but requiring you to sift through numerous transactions. A2X simplifies this by summarizing data to match bank deposits in QuickBooks.
- Many tools miss certain Etsy transactions, leaving gaps in data. A2X ensures all transaction types are captured for complete accuracy.
- Some tools post daily entries to QBO, but these can be hard to reconcile as Etsy typically pays weekly. Even for daily payouts, entries may not align with your actual payments.
- Some tools use clearing accounts to reconcile Etsy payouts, but these can leave unresolved balances requiring manual adjustments. A2X avoids this by providing precise, matched entries.
Step 1: Connect A2X to Etsy and QuickBooks Online
Sign up for A2X:
- Go to A2X’s website and create an account (or log in if you already have one).
Connect A2X to QuickBooks Online:
- In A2X, select ‘Connect to QuickBooks Online’.
- Authorize the connection by signing in with your QBO credentials.
- The next page will ask you to assign the bank account where you receive your Etsy deposits. The same bank account can be used if you owe money to Etsy (negative payout), unless you are using a different bank account.
Connect A2X to Etsy
- In A2X, select ‘Connect to Etsy’.
- Authorize A2X to access your Etsy account using your Etsy login credentials.
- A2X will start retrieving your sales data.
Step 2: Map your accounts & taxes in A2X
Note: You need to complete this step before you can post your Etsy deposits!
After your accounts and taxes are mapped, these settings will automatically apply to all future Etsy deposits (unless you want to change the general ledger account you initially selected).
To help you complete your accounts and taxes mapping efficiently, you can use the A2X Assisted Setup to ensure the transactions are aligned in QBO. If you prefer to use your own Chart of Accounts, you can also use our Custom Setup.
In A2X, go to the ‘Accounts and Taxes’ page:
- The first time you land on this page, you’ll be prompted with a questionnaire that will help you set up recommended accounts and tax mappings (based on the countries where you sell, the types of products you sell, etc.). At the end of the questionnaire, you can select whether you want to use Assisted Setup or Custom Setup.
If using the Assisted Setup, A2X will automatically map Etsy transactions to the following accounts (which will be automatically created in QuickBooks Online):
Transaction | Account Name | QuickBooks Account Type |
Sales | Etsy Sales | Sales |
Advertising | Etsy Expenses | Expense |
Pending Balances | Etsy Current Assets | Current Asset |
Sales Tax Collected | Etsy Current Liabilities | Current Liability |
We recommend working with an accountant or bookkeeper who specializes in working with Etsy sellers to review your mappings.
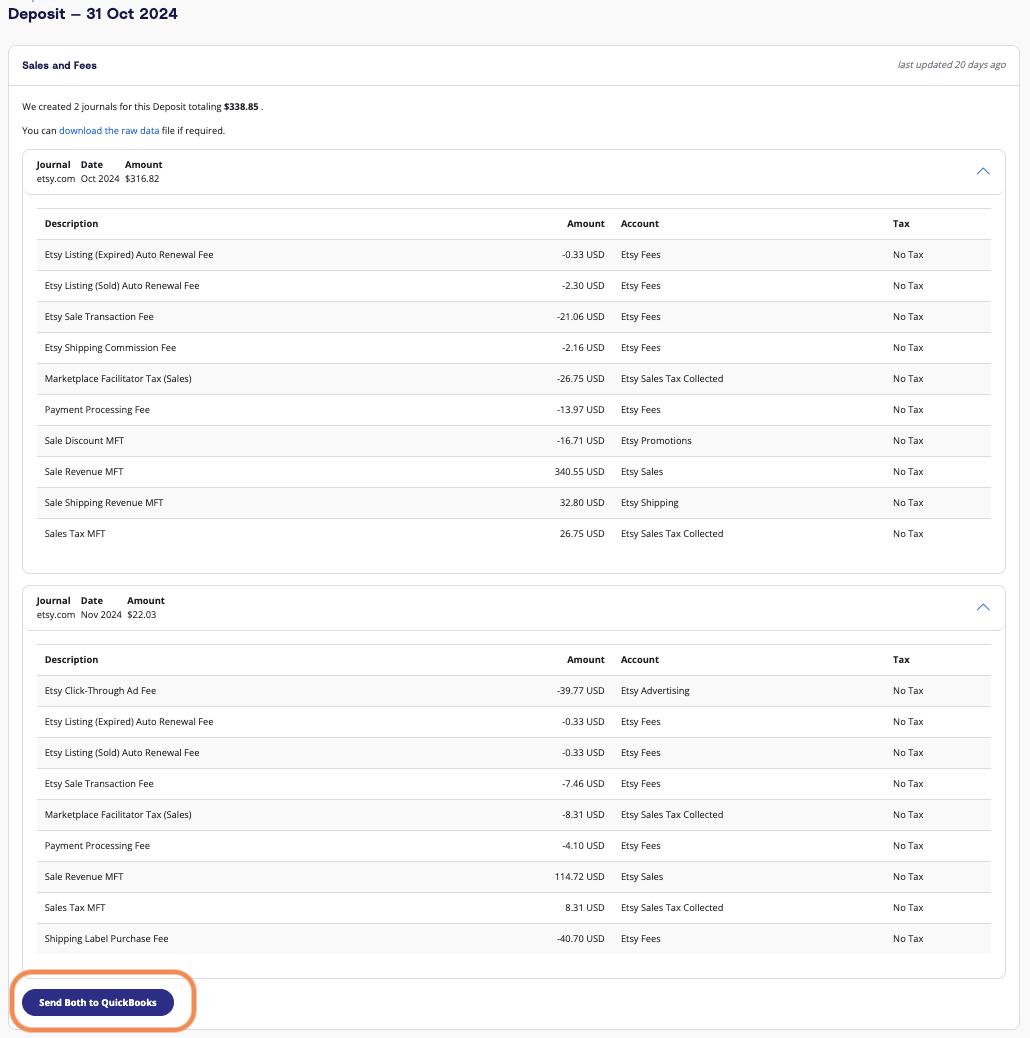
Step 3: Review and post summaries from A2X
A2X pulls your Etsy transactions based on your deposit frequency, depending on your settings.
Instead of individual transactions, A2X creates summarized entries for each payout cycle (making your QBO much cleaner and easier to reconcile).
Review the payouts in A2X:
- Navigate to the ‘Deposits’ tab.
- Click on the deposit date range to review the summary details. The summary should include all transactions that make up the net deposit amount.
Post to QuickBooks Online:
- Once reviewed, scroll down and click the ‘Post to QuickBooks Online’ button.
- A2X will create a journal entry in QuickBooks that matches the payout summary.
Step 4: Match the A2X journal entry to the deposit
Navigate to the bank transactions screen in QuickBooks Online:
- You should see the deposit from Etsy. Next to it, there will be a notification that a match has been found.
- Click ‘Match’ to reconcile.

Ongoing bookkeeping
Once you’ve completed your initial A2X setup, you’ll only need to repeat steps 3 and 4 above for ongoing bookkeeping – which means you can record Etsy sales and transactions in just a few clicks!
Or, you can skip step 3 by enabling Auto-Posting in A2X – a great option if you would prefer to automatically post journal entries without manual review.
Manual or automated?
With your Etsy transactions properly recorded, you’ll have accurate financials and reports at your fingertips.
By using A2X for Etsy and QuickBooks Online, you eliminate the hassle of entering individual sales and fees manually. A2X creates clean, summarized entries that make bookkeeping easier and reconciliation faster – and helps to ensure accuracy.
If recording your Etsy sales in QuickBooks is taking up too much time, it’s time to consider an automated solution. Try A2X for free today!
Integrate Etsy and QuickBooks Online for accurate accounting
A2X auto-categorizes your Etsy sales, fees, taxes, and more into accurate summaries that make reconciliation in QuickBooks Online a breeze.
Try A2X today